When a making a pitch presentation video there are plenty of options available to you, from limited to fully featured professional desktop software, as well as third-party service providers that can do these for you.
However for those wanting to give it a go themselves, there are some free* options worth trying.
Please be aware, the software mentioned in is this article is a 3rd party product. Use of which is at your own risk. The article was accurate at the time of writing but any change or removal is beyond our control.
Xbox Game Bar
Free with Windows10 license
For those using Windows10, Xbox Game Bar is a free, integrated screen capture program. As the name suggests it is aimed at gamers, and though its features are basic, it is more than sufficient for recording anything on your desktop.
NOTE: Be aware that Xbox game bar recording resolution will always be the size of the application window you are recording on screen, so if you “full screen” your presentation on a standard HD screen, you will end up with it being a 1920×1080 resolution recording.
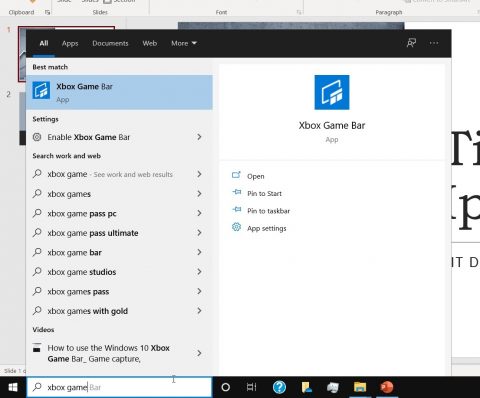
First check you have windows Xbox game bar installed. In the windows search box (next to the ‘start’ icon), type ‘Xbox game bar’ and you should see the app available for launch.
If you cannot see it, you can download it from Microsoft here.
Pressing the [WindowsKey/WinKey] + [G] will bring up the Xbox game bar overlay.
(the ‘+’ symbol means hold them down at the same time).
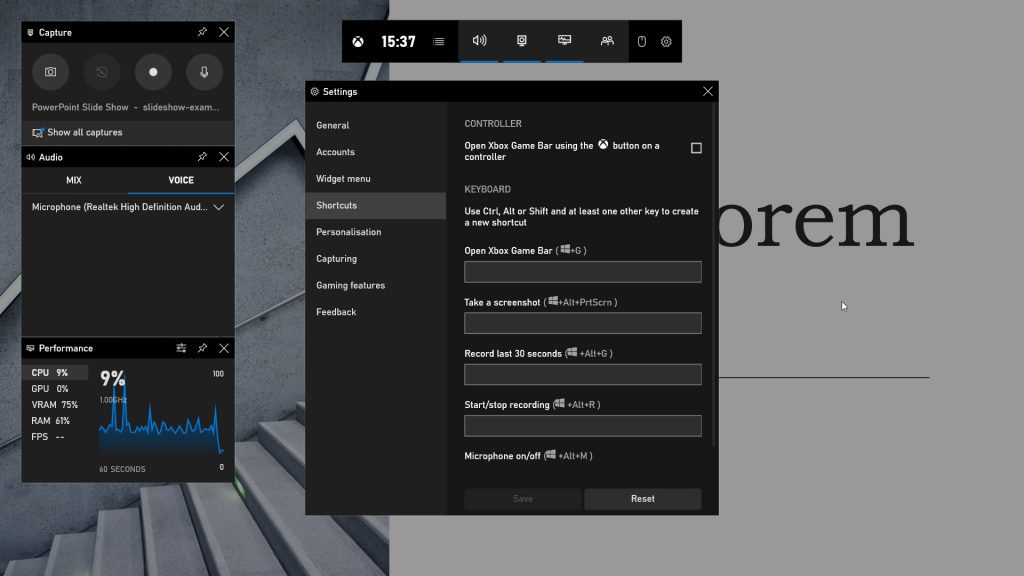
On the left ‘Audio’ panel, make sure your microphone is selected under ‘voice’, and is unmuted in the ‘capture’ section.
Now the Xbox game bar should be ready to record. Press [WinKey] + [G] to close the Xbox game bar overlay.
Before you record your presentation video, click on the presentation window and make sure it is set to full screen for the best resolution, and ready on the first slide.
Now, to start recording, you can either press the short cut:
[WinKey] + [Alt] + [R]
Or press [WinKey] + [G] and click record button (the dot icon) in the Xbox game bar ‘Capture’ section to start recording.
You are now recording. You will see an indictor on the right showing recording time, a ‘stop’ button and mute/unmute mic button.
NOTE: It is a good idea to do a quick test recording first, to make sure everything is working, and you can be heard clearly.

When you are finished you can stop the recording either by pressing the shortcut:
[WinKey] + [Alt] + [R]
Or by clicking the ‘stop’ icon in the record indicator.
Your presentation video file will be saved, and the default location will be in your ‘Videos > Captures’ folder.
Once finished, review your presentation video. How did it go? You may have got it right first time, but if you didn’t, you might want to edit it. This is where Windows’ built-in video editor can come in handy.
Windows Video Editor
Free with windows10 license
For those using Windows10, Video Editor is a free, integrated video creation and editing program. It is actually part of the Windows ‘photo’ application, and though its features are basic, it does afford you the ability to trim videos to remove unwanted bits.
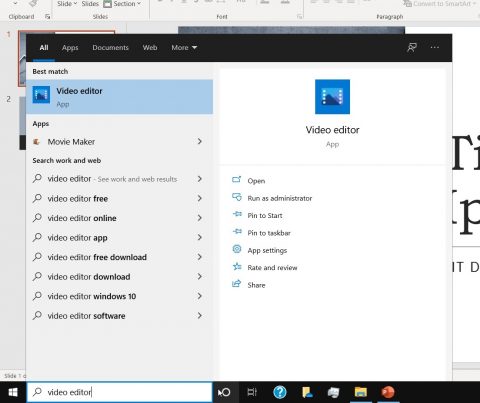
First check you have Windows Video Editor installed. In the Windows search box (next to the ‘start’ icon), type ‘video editor’ and you should see the app available for launch.
If you don’t see it, you can download it from Microsoft here.
Press [WindowsKey] to open the windows ‘start’ bar and scroll to the ‘Video Editor’ application, then click on it to launch.
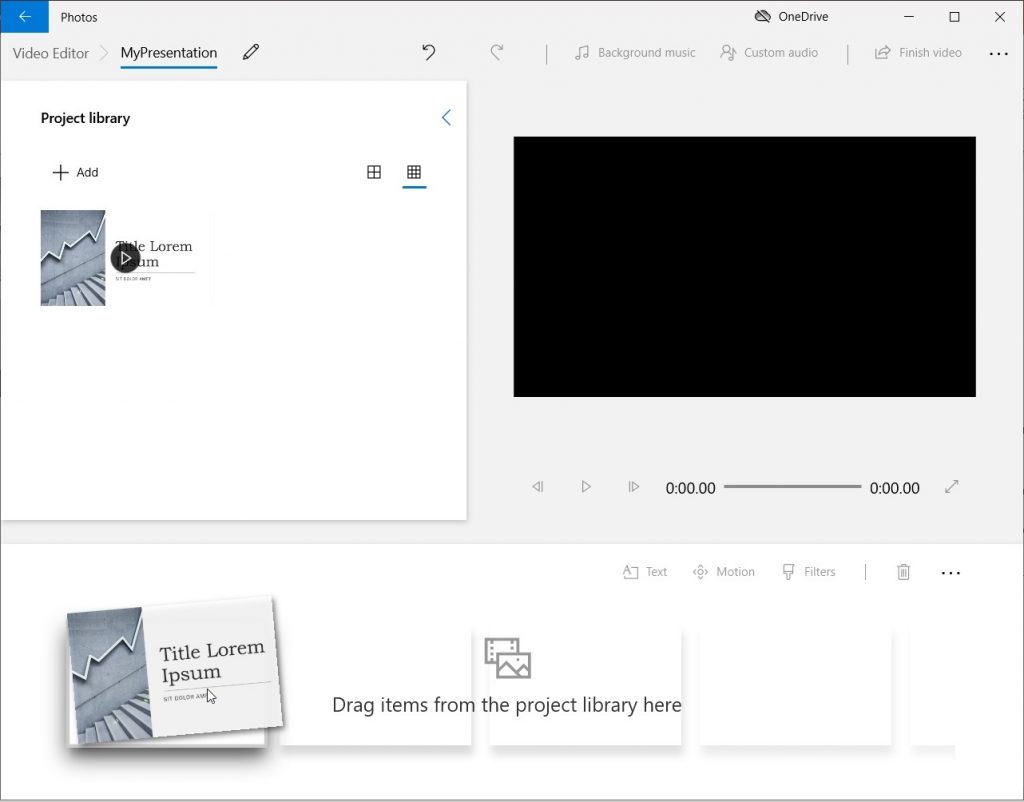
You will be presented with a welcome screen. Click the ‘New video project’ button.
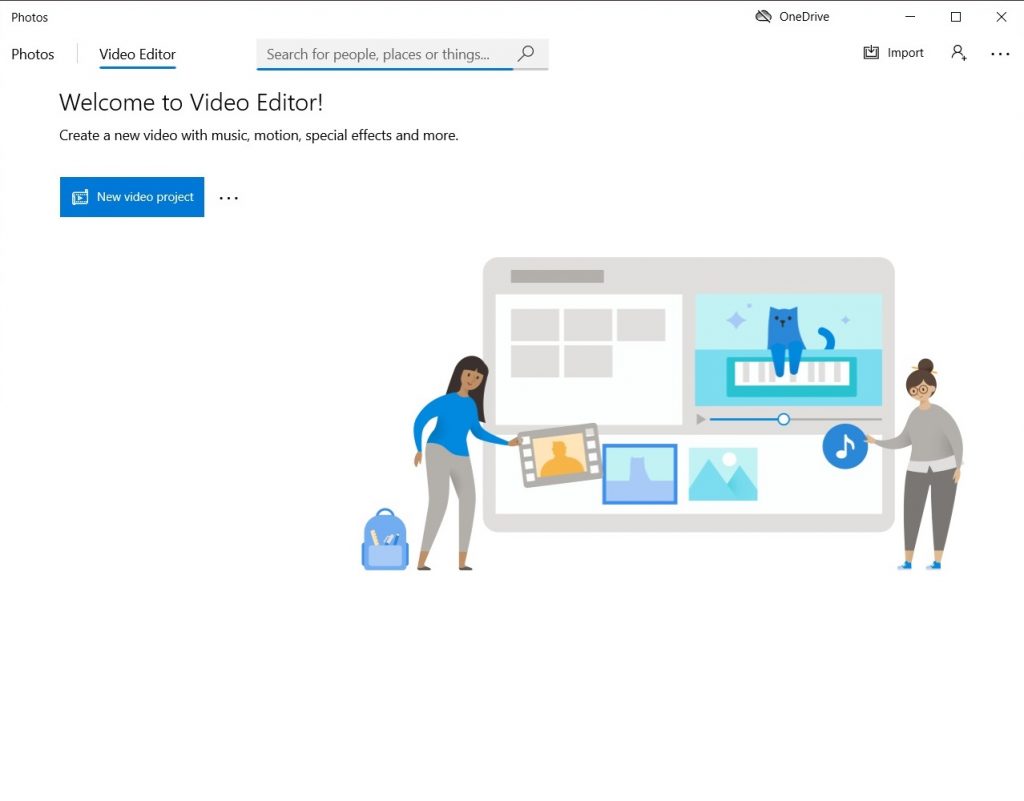
It will ask you to ‘Name your video’. Call it something appropriate and click ‘OK’.
Now you need to add the video(s) you want to edit to the ‘Project Library’.
Either drag and drop the video(s) from their folder to here,
Or, click ‘+ Add’ and browse the video(s) to add.
Once your Project library has the video(s) you need, drag and drop what you want to use into the video ribbon at the bottom of the dashboard.
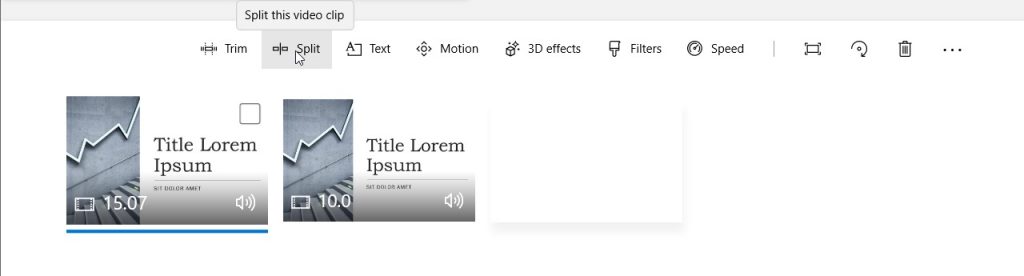
Now you can use the split, trim and delete tools to edit out the bits of the video you don’t want.
Split: cuts the selected video segment into 2 pieces at the point you select.
Trim: removes the ends of the selected video segment, just keeping the section between the points you select.
Remove (Delete): removes the selected video segment(s).
Split Tool
Click the video segment you want to split, then click the ‘split’ tool on the toolbar.
In the Split tool window, play the video and pause it at the point you want to split it. You can also adjust the slider to the point you want to split it.
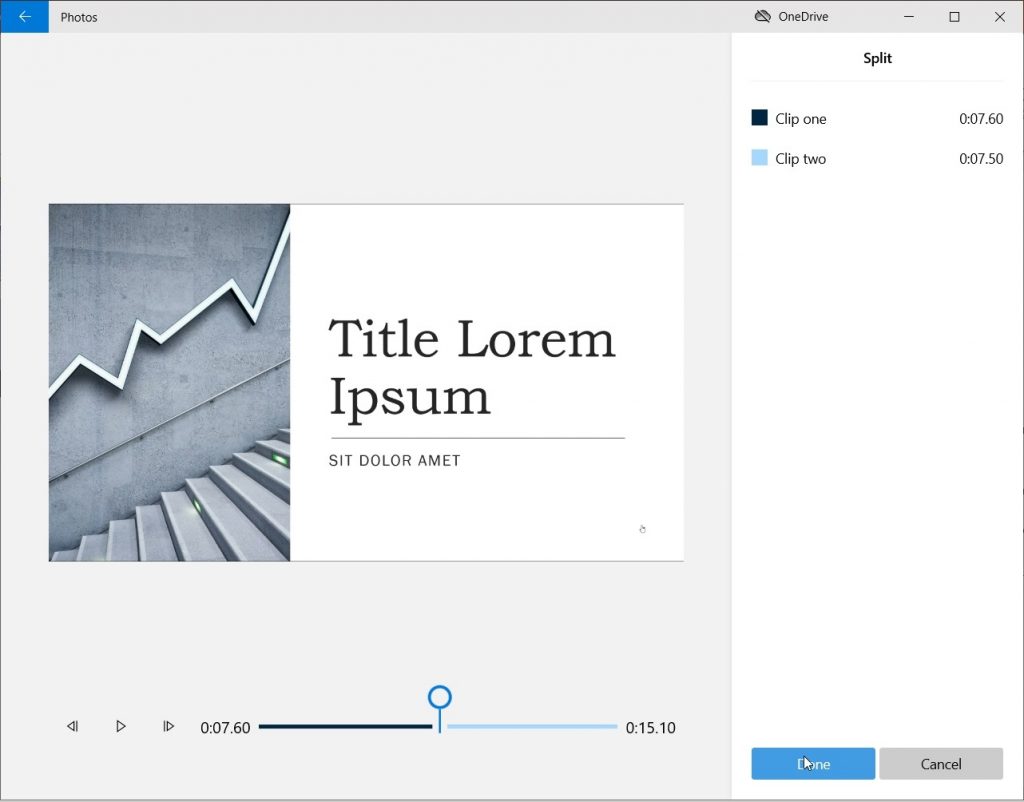
When you are happy with your selection, click ‘Done’.
You will now have 2 shorter videos segments where you previously had 1 video.
Trim Tool
Click the video segment you want to trim, then click the ‘trim’ tool on the toolbar.

In the Trim tool window, adjust the end slider(s) in, to the point(s) where the section between is what you want to keep.
Click the play button to check the selection is as you want it. Anything outside this selected area will be deleted.
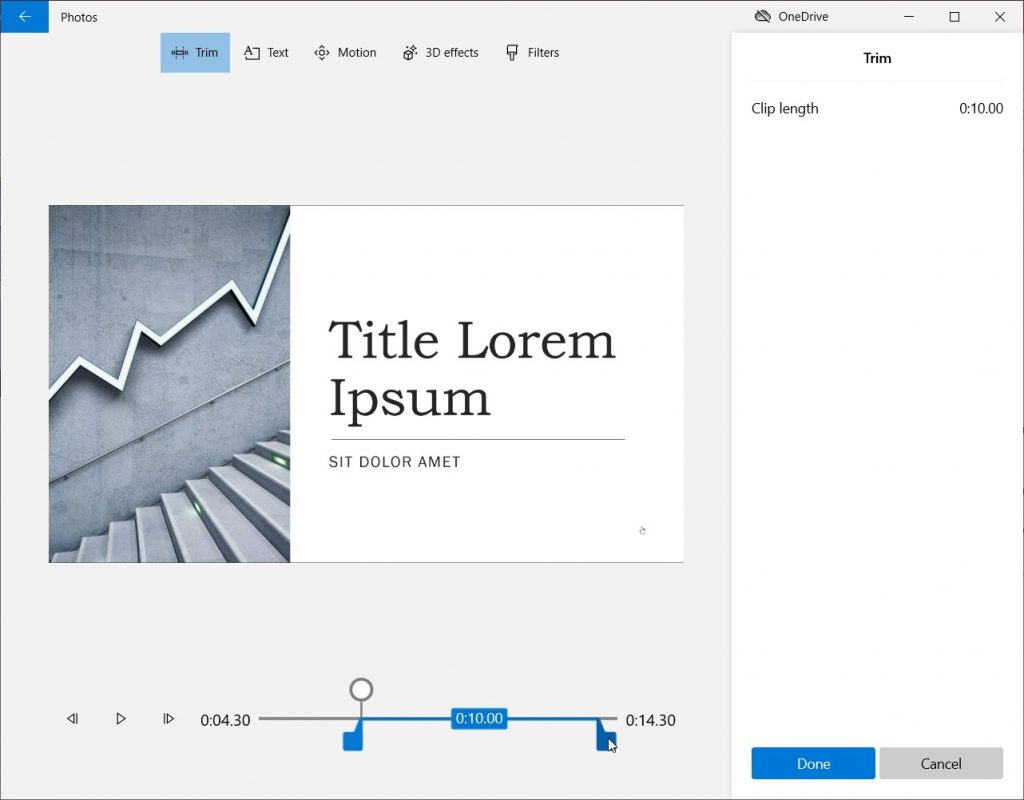
When you are happy with your selection, click ‘Done’.
You will now have a shorter video segment than you had before, which only contains the section you selected.
Remove Tool
Click the video segment or tick the boxes of each segment you want to delete, then click ‘Remove (del)’ (bin symbol) on the toolbar.
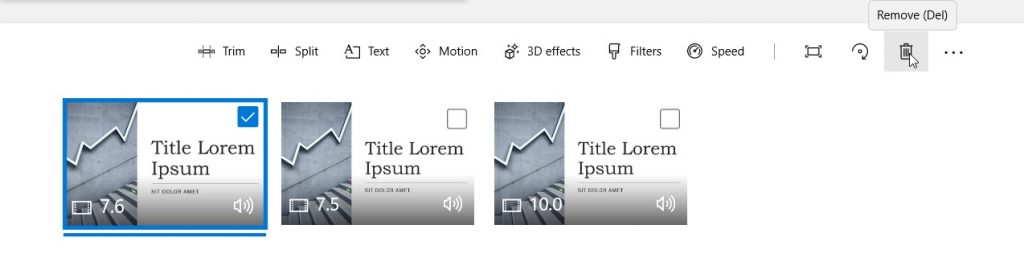
The selected video segment(s) will be removed from the video ribbon.
Once you have finished editing, click the ‘play’ button in the preview window to the right or the Project library, to view what your full video will look like.
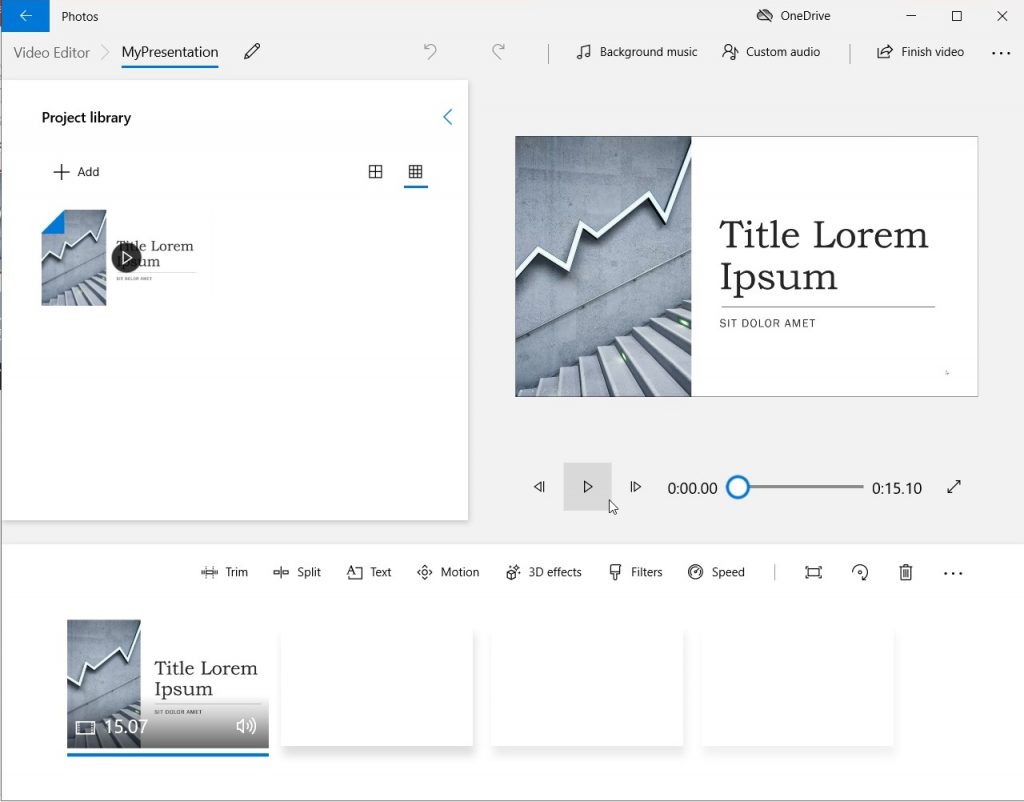
When you are happy with the work you have done, click the ‘Finish Video’ button in the top right of the editor.
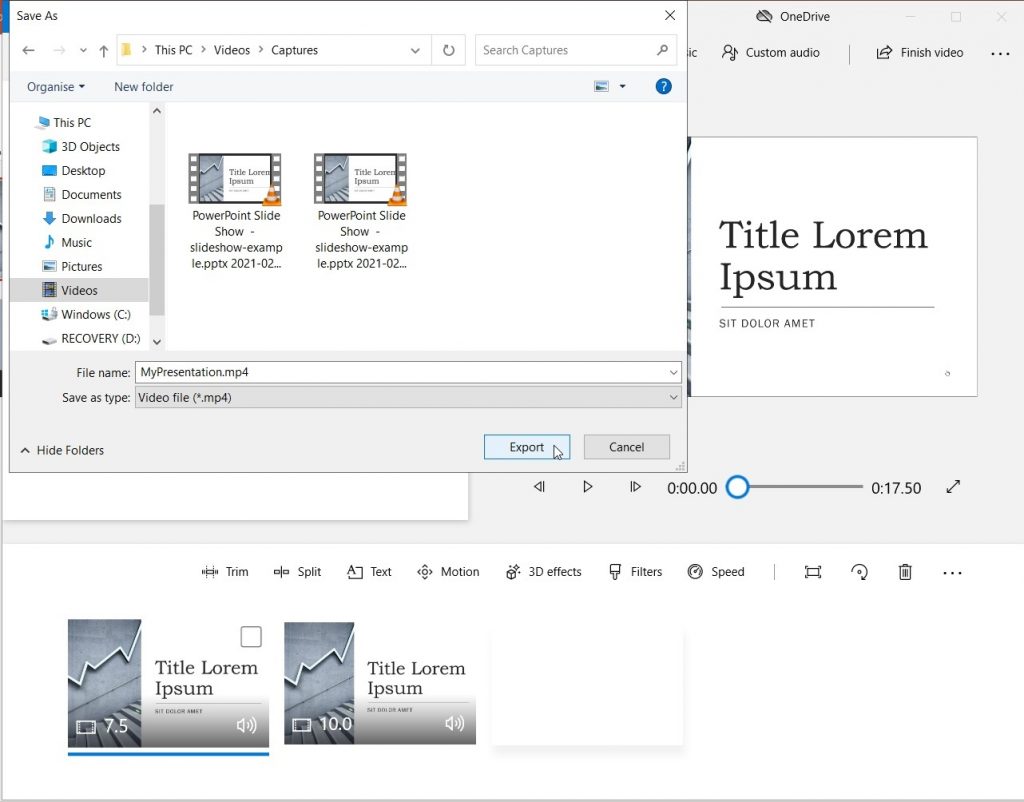
Check the name of the file you are creating is what you want, and check the location it is being saved to, then click ‘export’. Please be aware, depending on the length of the video, and the power of your computer, this could take some time.
Congratulations, you have now finished creating your presentation video, which is now ready to upload to the Shadow Foundr platform.